Prerequisites
Before setting up the Linear integration, ensure that you have the following:- A Linear workspace you have access to
- A Linear personal API key, created in Linear under Settings > API (How to create a Linear API key)
- The Manage Integration permission in Corgea to add, edit, or delete an integration, and View Integration to see the ones already configured (see Roles)
A Linear personal API key inherits your own permissions in the workspace. Create the key from an account whose access matches what you want Corgea to be able to do. Corgea stores the key encrypted and never displays it again after you save it.Only personal API keys are supported. OAuth is not currently available.
The Linear integration is available on the Starter plan and above. On the Free plan, Corgea prompts you to upgrade instead of opening the Linear integrations page.
Setting up the Integration
1
Access Integrations Page
Log in to your Corgea account, go to Settings → Automation → Integrations, and find “Linear” under Ticketing Integrations.
2
Open Linear Integrations
Click “Add” to open the Linear integrations page. Once you have at least one integration configured, this button reads “Edit” and shows how many are set up.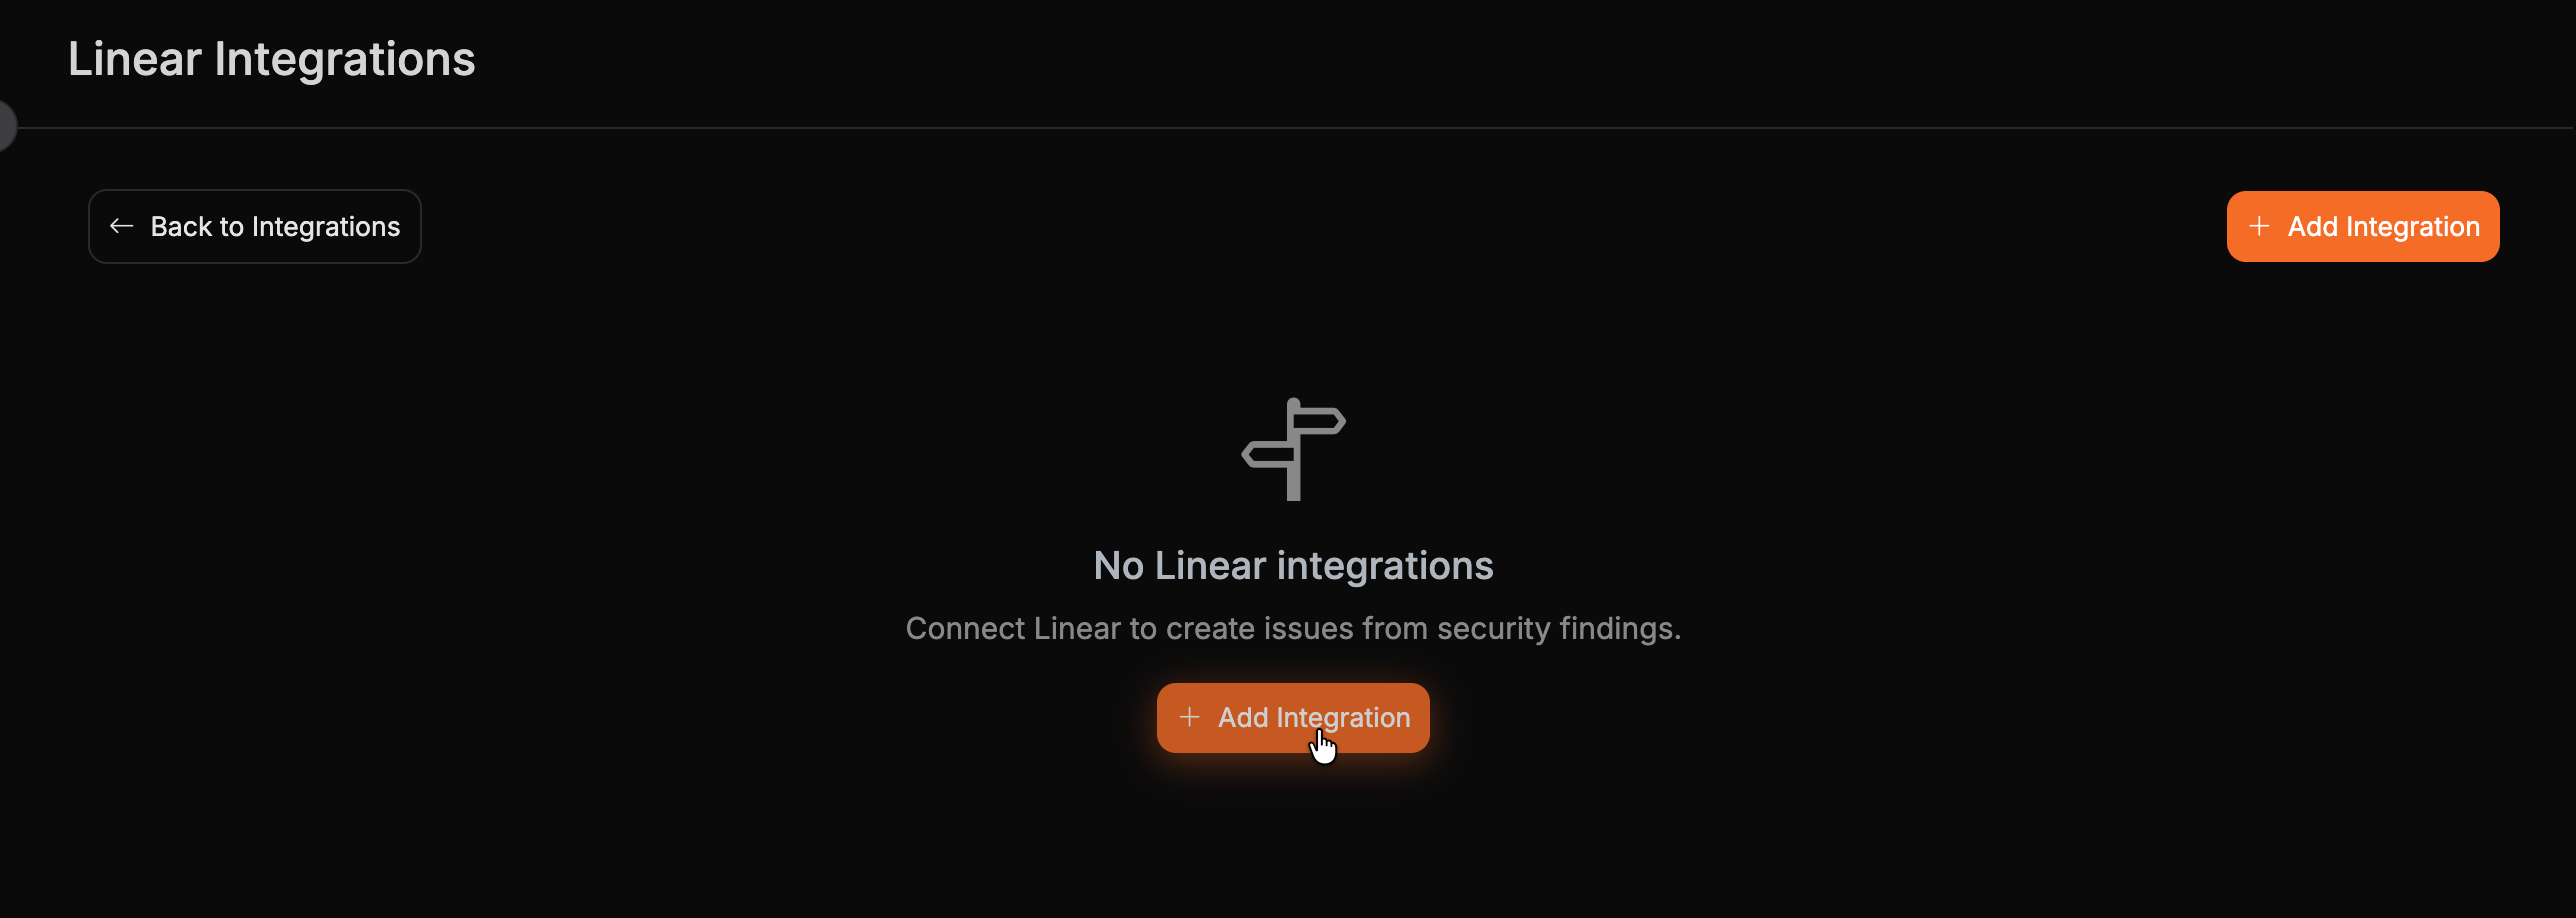
3
Configure Integration
Click “Add Integration” and enter the following details: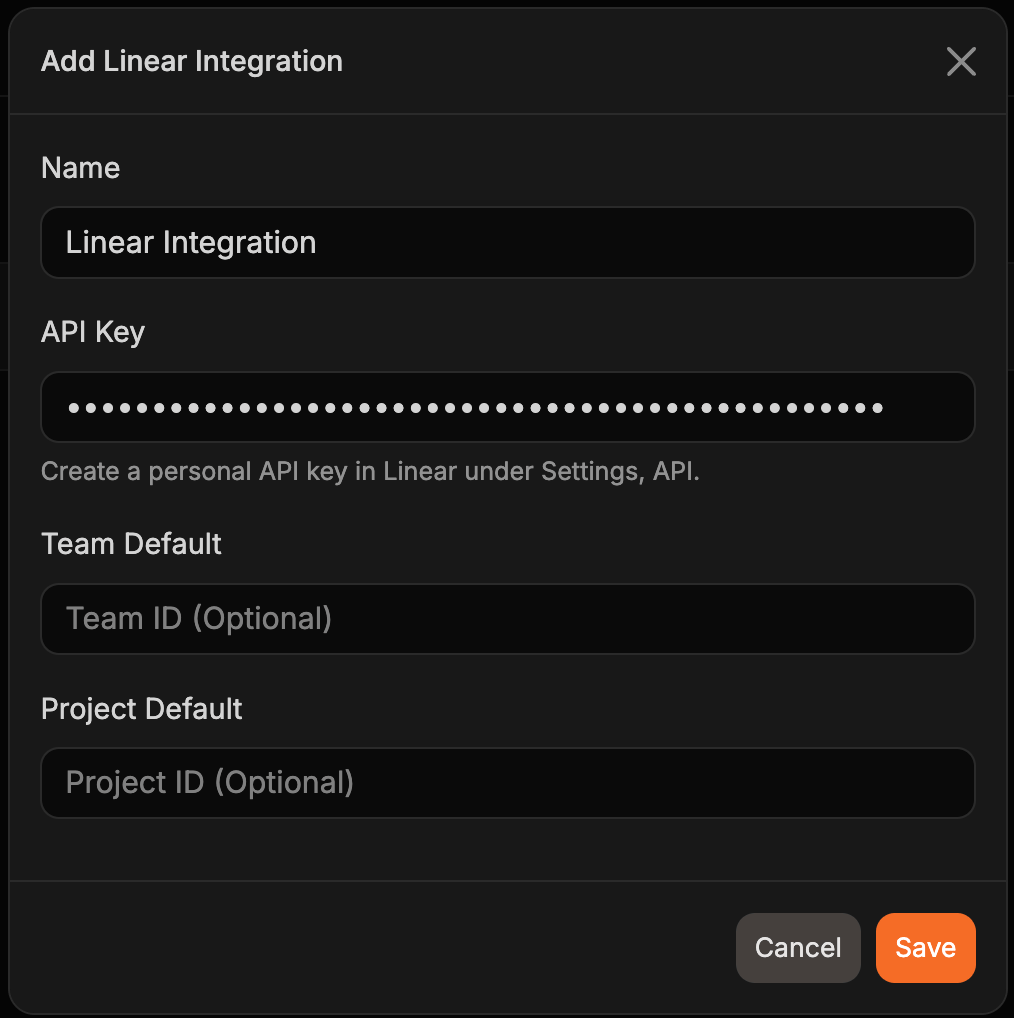
- Name: A friendly name for the integration (e.g., “My Linear Workspace”)
- API Key: Your Linear personal API key
- Team Default (optional): The ID of the Linear team to preselect when creating issues
- Project Default (optional): The ID of the Linear project to preselect when creating issues
4
Save Configuration
Click “Save” to complete the integration setup. Corgea verifies the API key against Linear before saving, so an invalid key is rejected immediately and nothing is stored.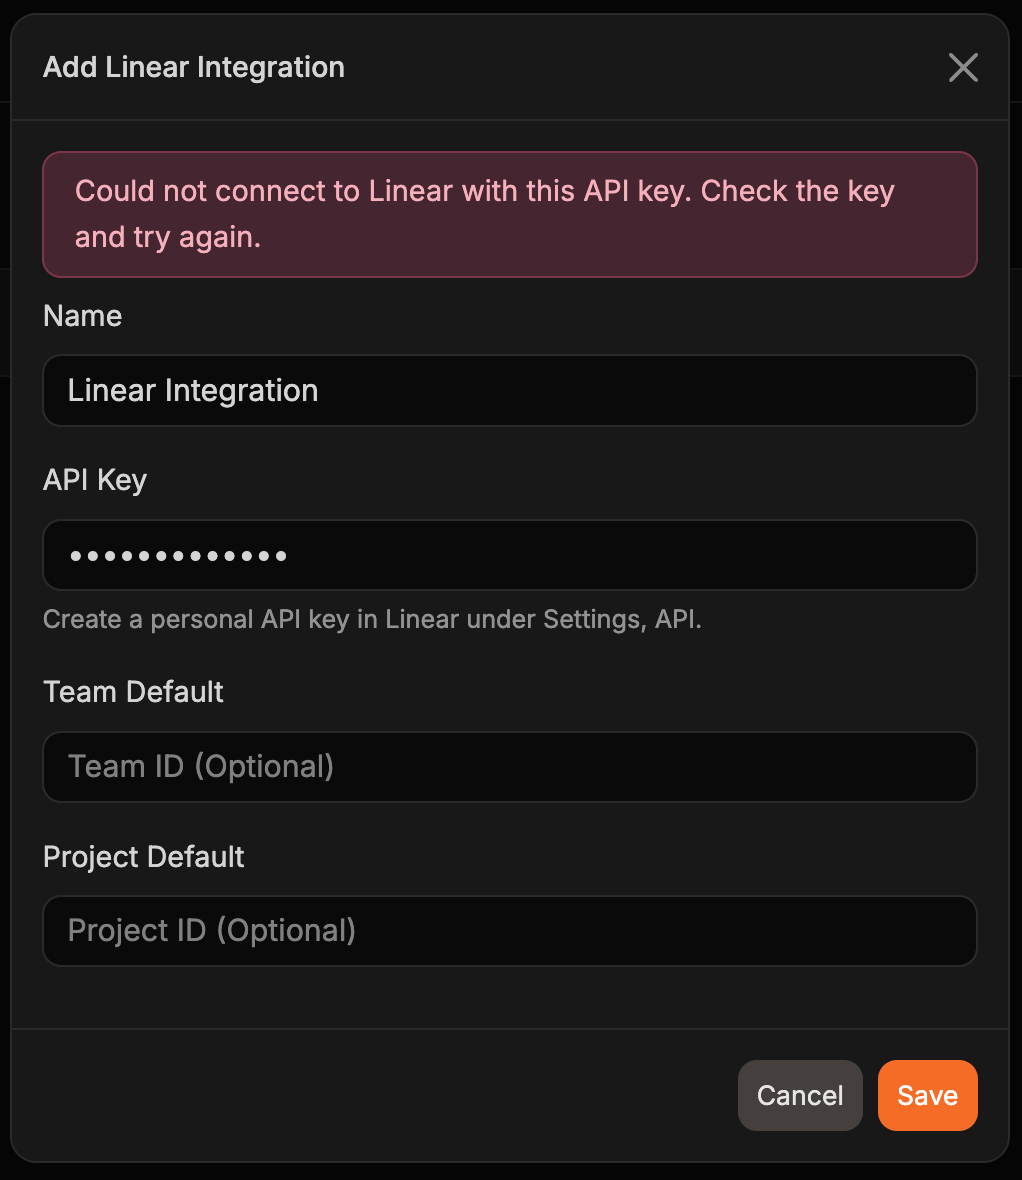
Creating Linear Issues
1
Navigate to Issues
Navigate to either a code issue or dependency issue in Corgea and open the issue details page.
2
Access Issue Details
In the issue sidebar, select the signpost icon button (tooltip: “Create Linear Ticket”). If you also have JIRA connected, its button sits alongside this one.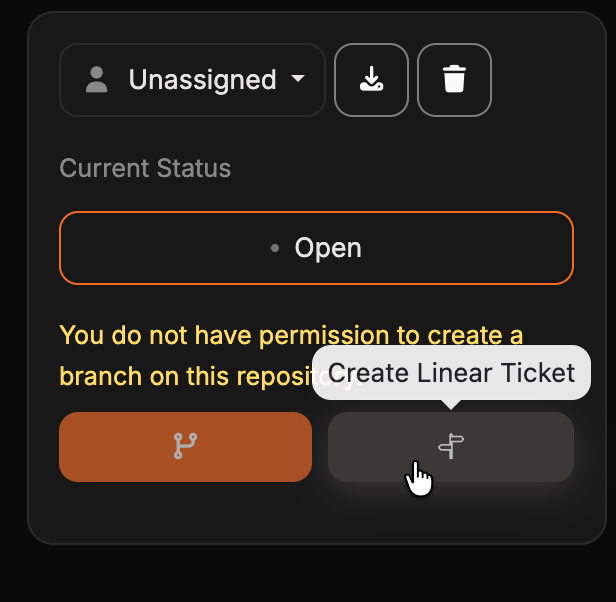
3
Configure Ticket
Select the integration to file against, then the team. If you haven’t specified default values for the team and project during the integration setup, you’ll need to provide them here. Corgea will automatically fetch your teams, and selecting a team loads that team’s projects.The project is optional. Select “No project” to file the issue against the team without a project, or to undo a project you already picked.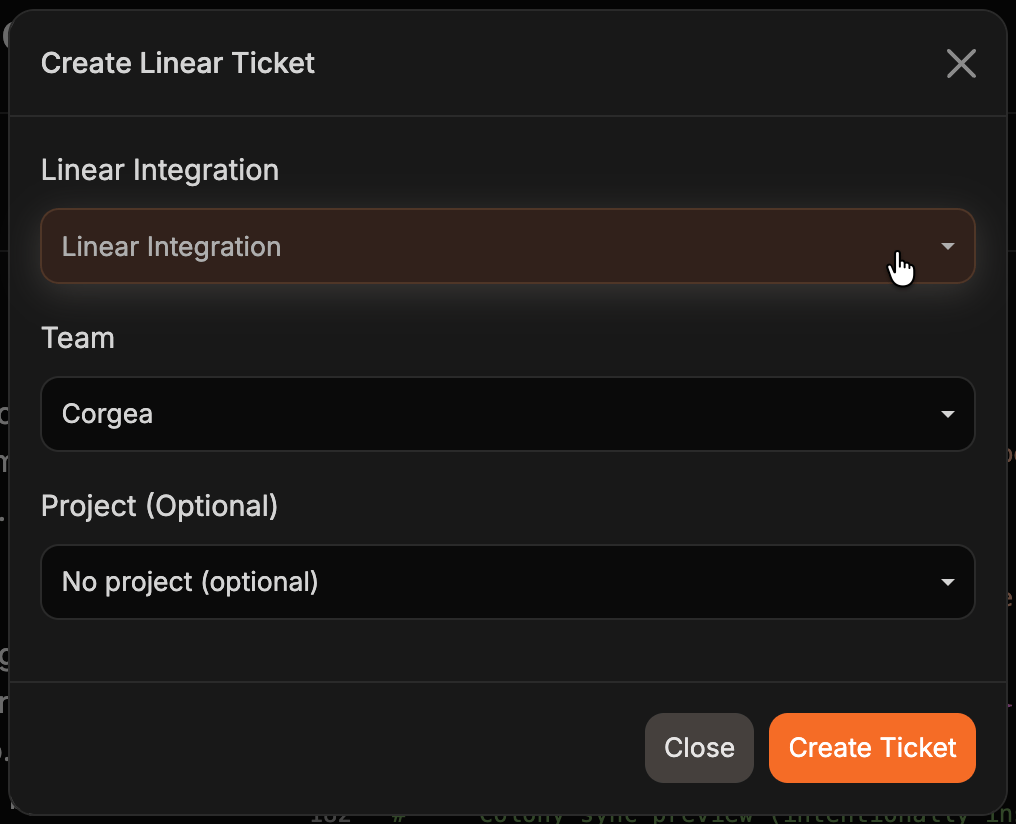
4
Create Ticket
Click the “Create Ticket” button. Corgea will create a new Linear issue with the relevant details.
5
Confirm Creation
The new Linear issue opens in a new browser tab and Corgea shows a confirmation notification. The issue details page then displays a “View Ticket” link to the Linear issue.
If Linear creates the issue but Corgea cannot link it back to the finding, the dialog shows an “Open in Linear” link to the new issue and disables “Create Ticket” so a retry cannot create a duplicate. Reload the issue details page once you have noted the Linear issue.
Customizing Linear Issue Details
By default, Corgea populates the Linear issue with the following information:- Title:
- Code issues: issue classification and file location
- Dependency issues: CVE, affected package, and affected version
- Description:
- Vulnerability details (location/package, category, severity)
- Issue explanation
- Proposed fix, including the code diff when Corgea generated one. Long diffs are truncated, and the section reads “Corgea couldn’t generate an auto-fix” when no fix is available.
- Project information: project name, scan ID, and scan date (code issues)
- References: links to the MITRE CWE entry, the Corgea CWE database, and the affected file in GitHub or GitLab where available (code issues)
- Link to the issue details page in Corgea
Managing Multiple Linear Integrations
If you have multiple Linear workspaces, you can set up multiple Linear integrations in Corgea. When creating a Linear issue, you’ll be prompted to select the appropriate integration to use.Editing an integration
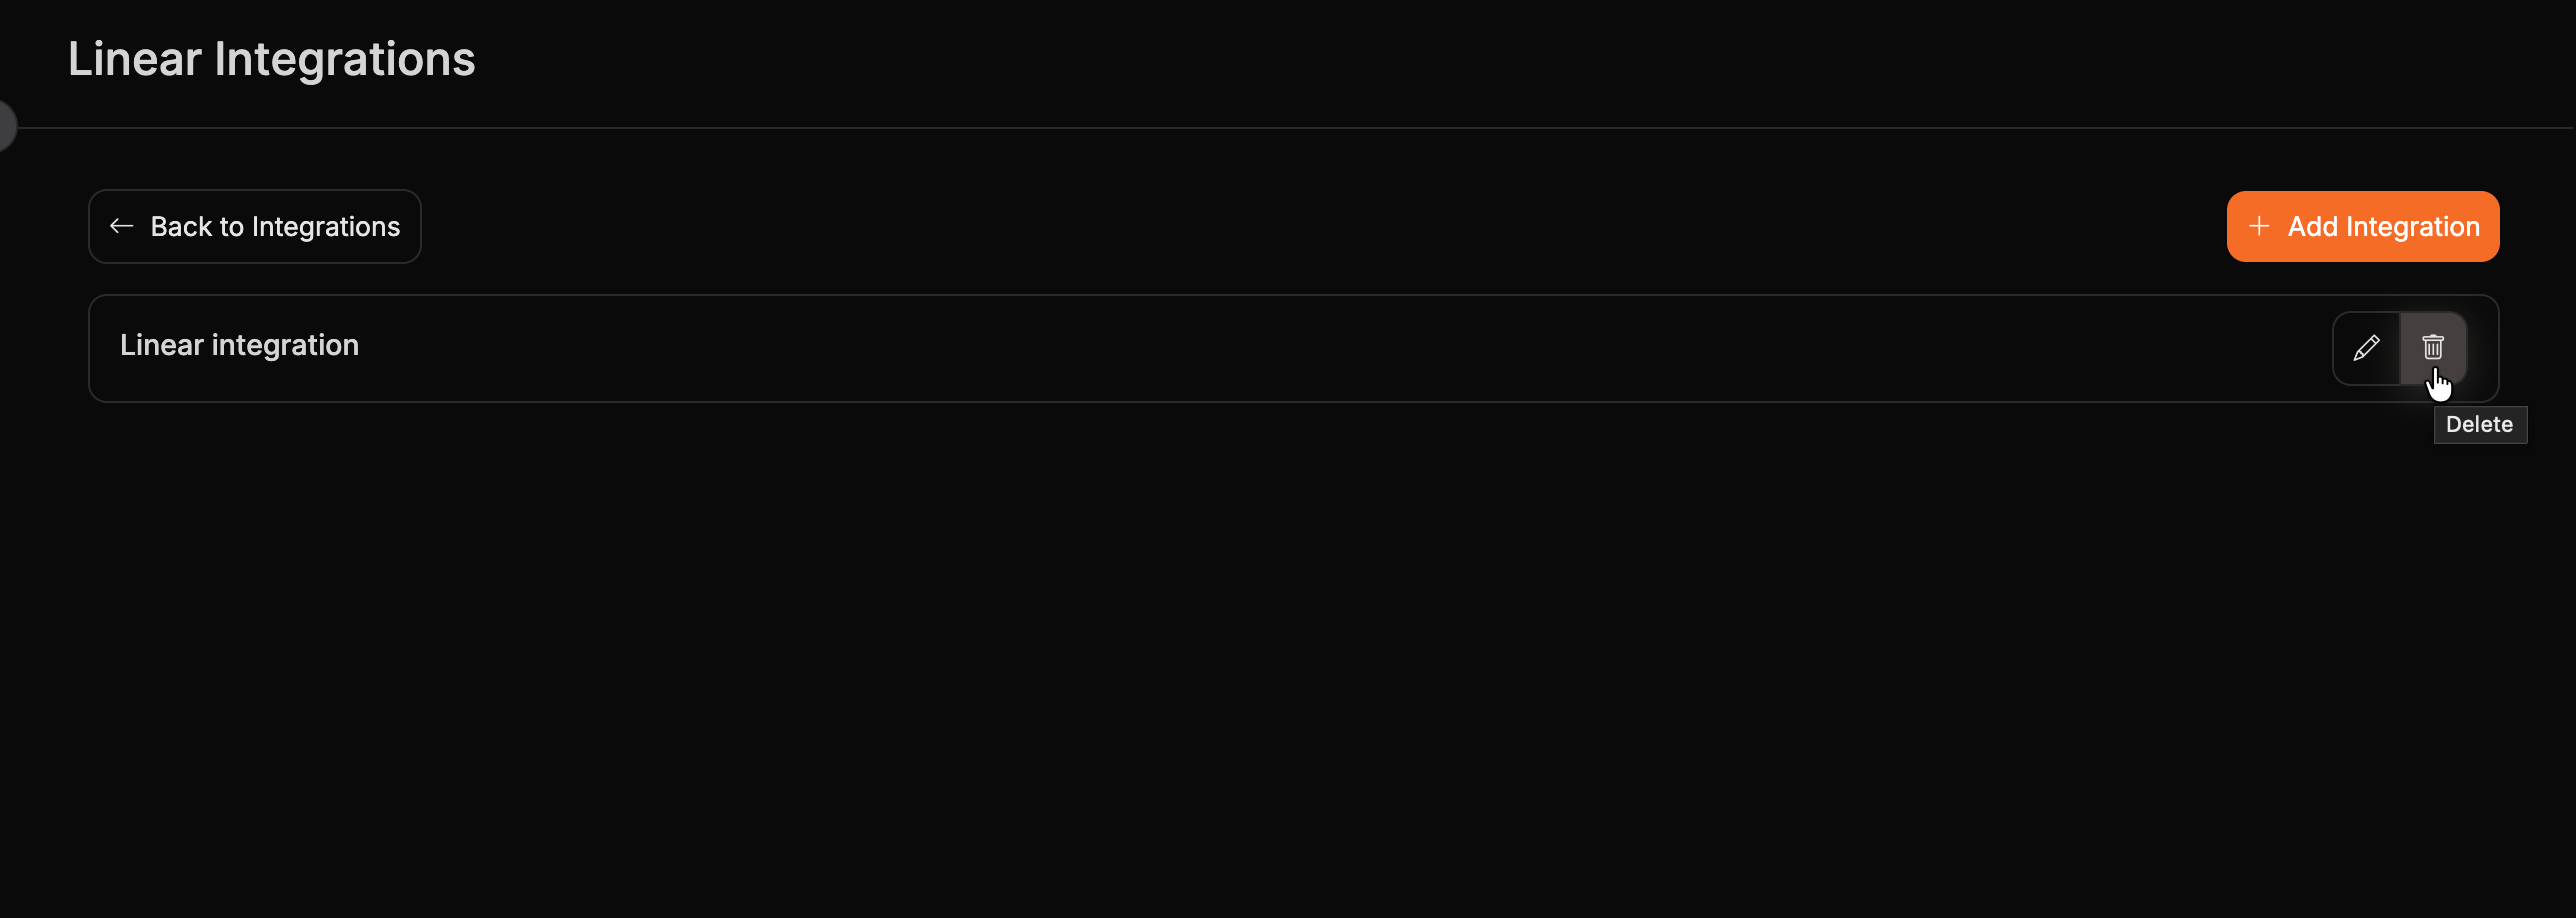
On the Linear integrations page, select the pencil icon on the integration you want to change.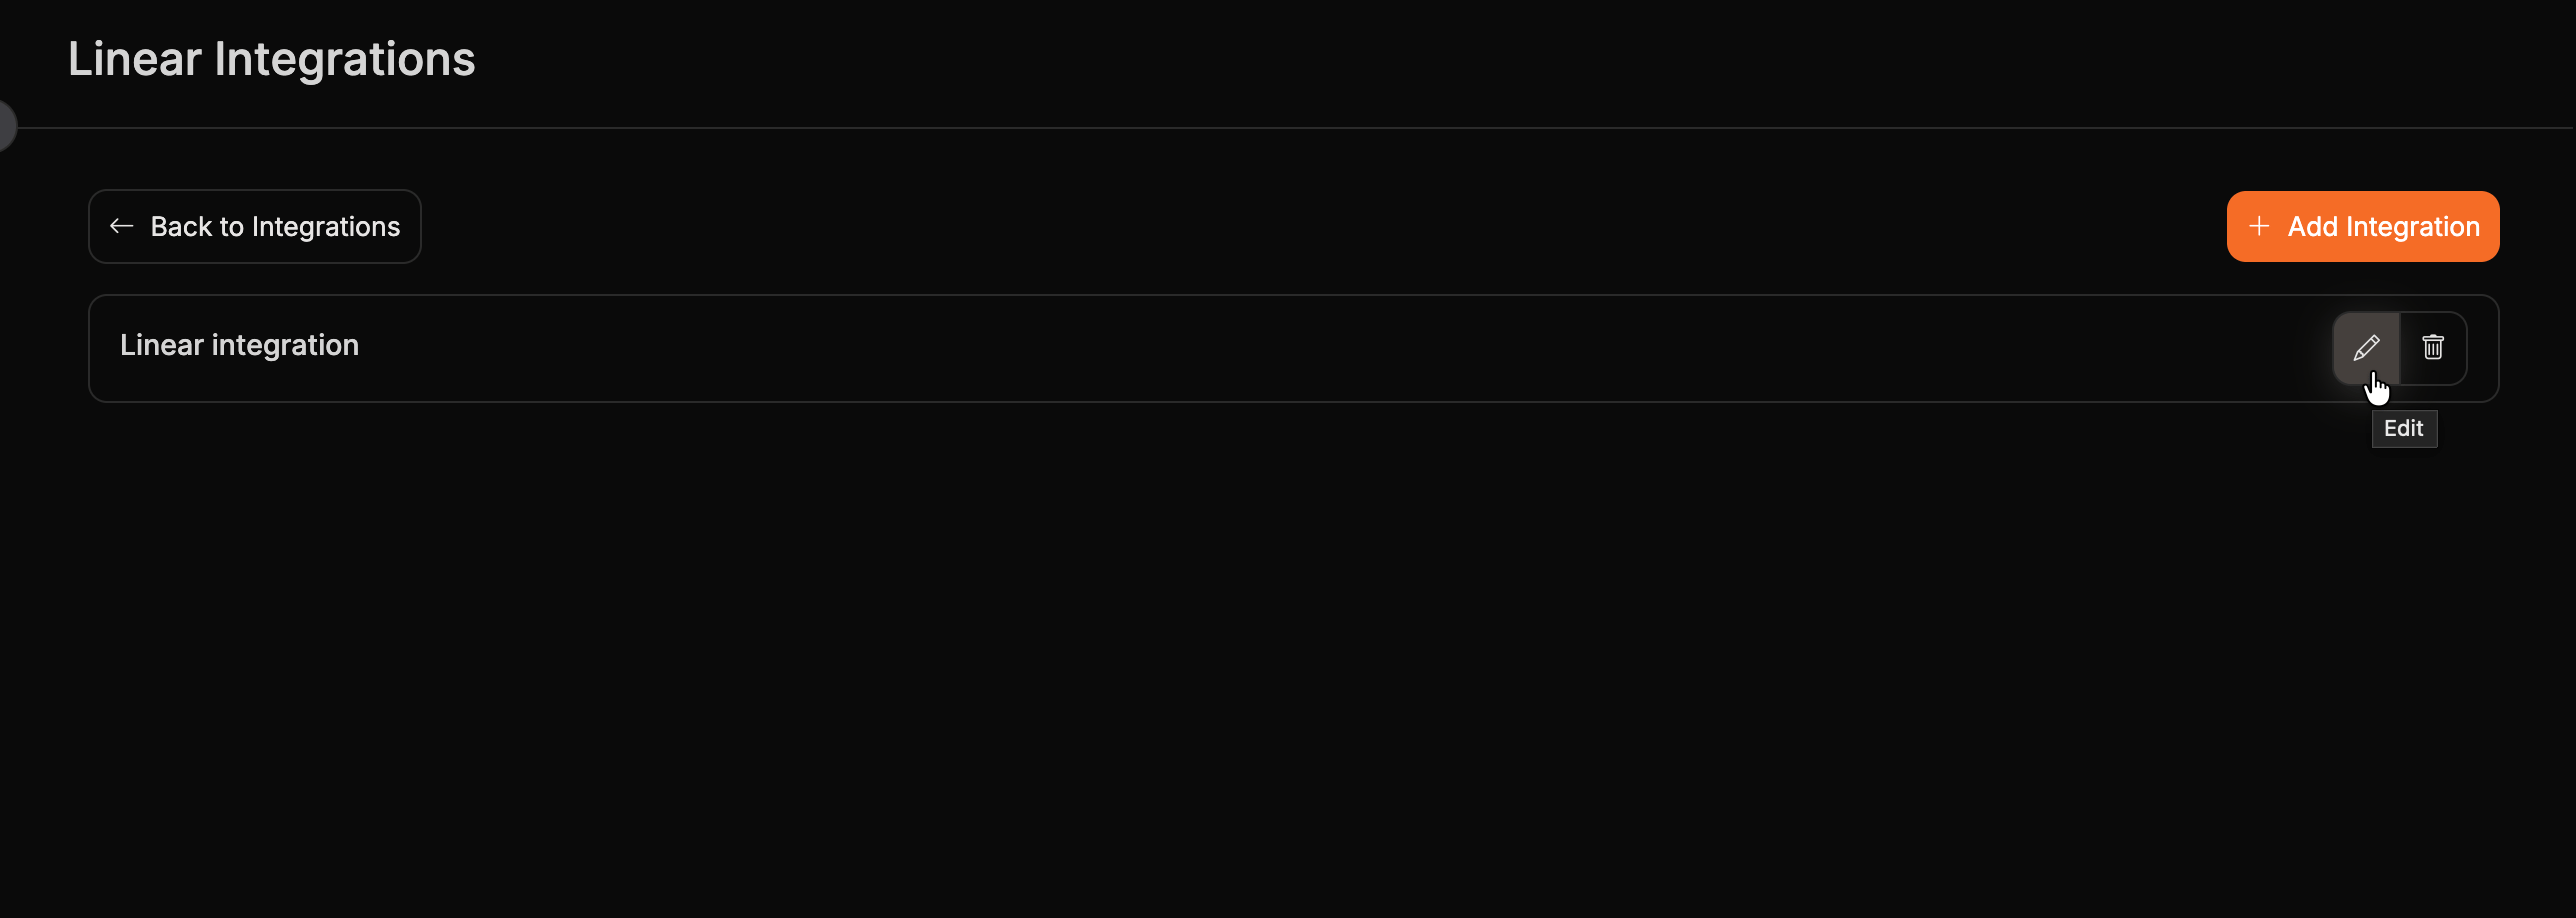
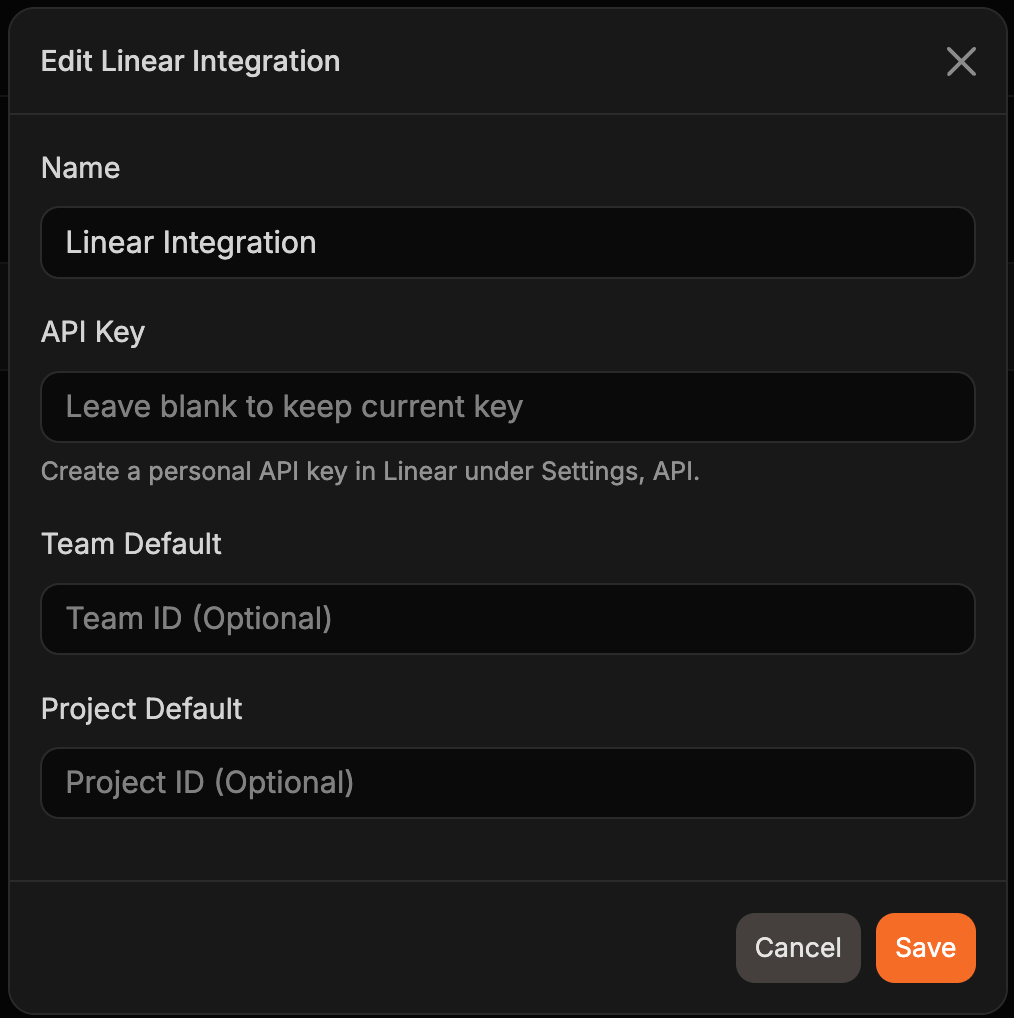
Deleting an integration
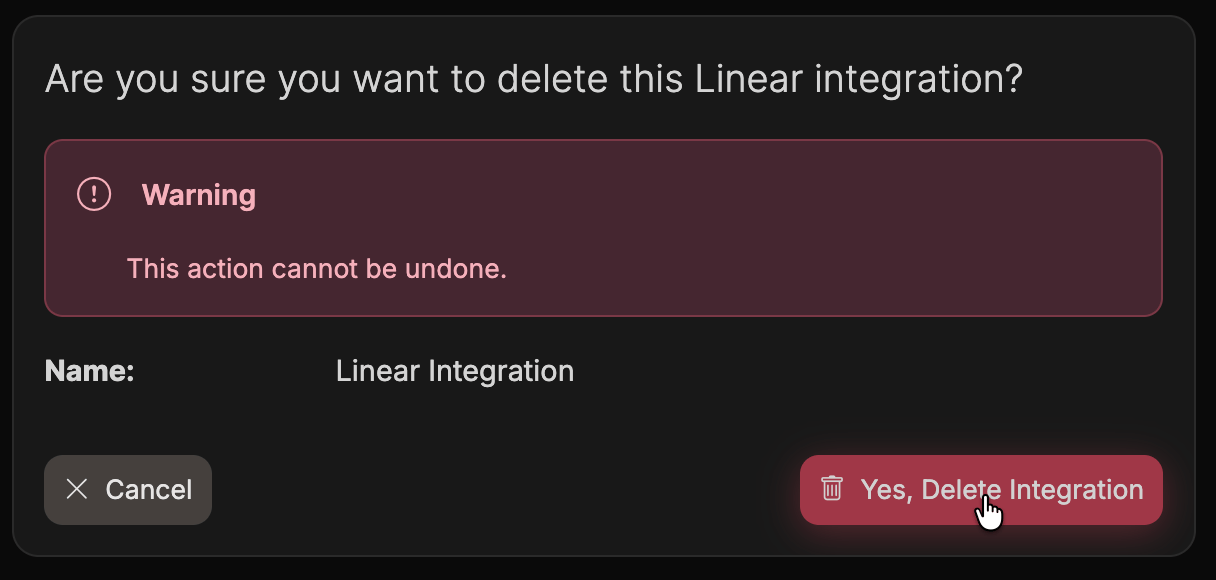
Select the trash icon on the integration you want to remove.