
Scanning your repository
Prerequisite You registered in CorgeaPrerequisite You have completed a scan
1
Select an Issue
- Navigate to the projects page.
- Choose a project.
- Click on a Scan.
- Find an issue row with the
Fix AvailableorOn Demandstatus. - Click the issue row to open the issue details sidebar.


2
Review the fix
Review the suggested fix in the issue details sidebar before applying it.If the issue is marked 
On Demand, Corgea starts generating the fix in the background when you open the issue. This usually takes a minute or two. The fix appears automatically when it is ready.GET /api/v1/issue/{id}. generate_fix defaults to true. While generation is pending, auto_fix_suggestion.status is generating — fetch the issue again until it finishes. Pass wait_for_the_fix=true to wait up to 120 seconds for the result in the same request. See the API reference.Corgea generates fixes using AI and runs quality checks before making them available. We still strongly recommend reviewing the suggested change for correctness and fit in your codebase before applying it.3
Apply the fix
If the fix seems appropriate, there are two ways to apply fixes:
-
Option 1: Corgea Web Application
In the issue details sidebar, click on the
Create Pull Requestbutton. For findings from CLI or IDE scans, pull request creation requires an active source control integration for the repository and the scanned branch to exist on the remote. If Corgea reports that the branch is missing, push it and reload the issue page. Corgea automatically generates a pull request with issue and fix context. Wait for PR creation to complete, then click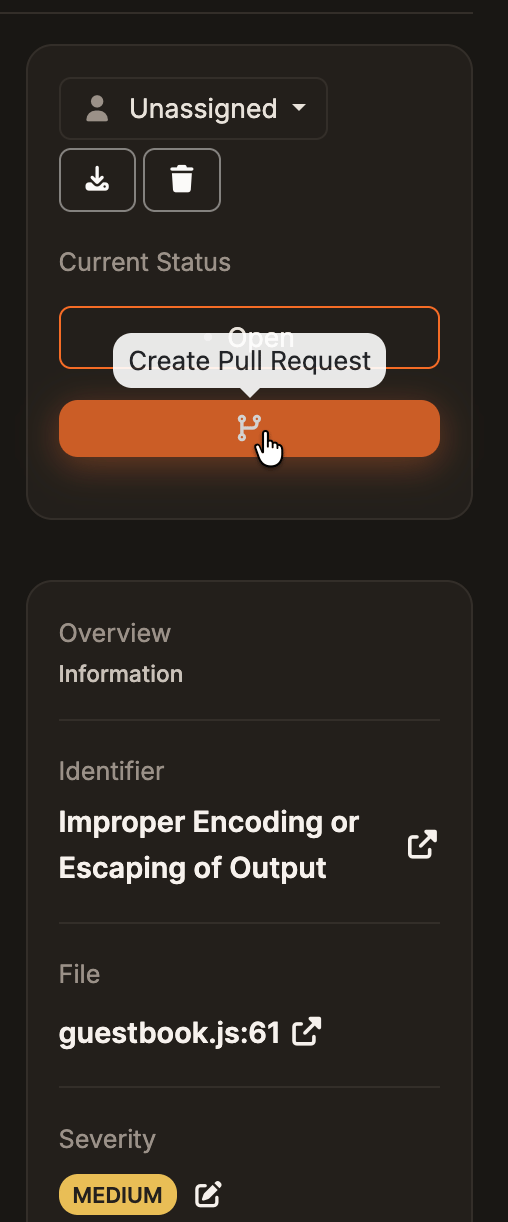
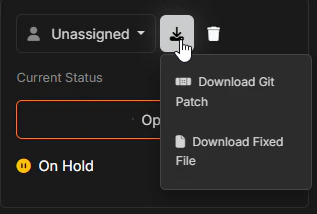
View Pull Request.Alternatively, use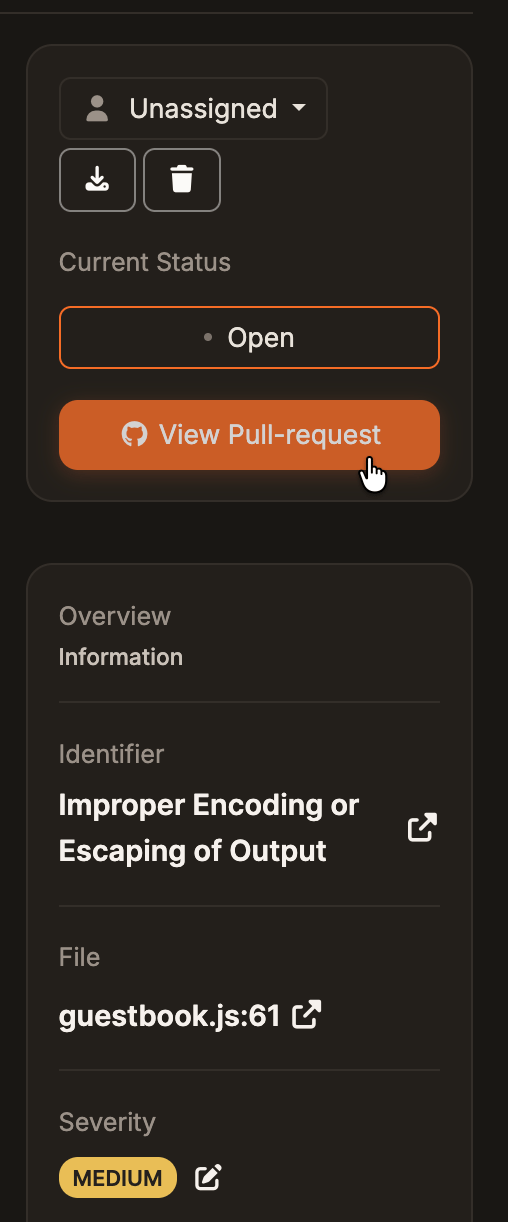
Download Fixand select one of the available options:Download Git PatchDownload Fixed File
-
Option 2: Corgea IDE Extensions
Corgea supports applying fixes locally using our IDE extensions. Corgea supports Visual Studio Code, Visual Studio 2022, and JetBrains IDEs.
In Visual Studio Code, click a vulnerability in the sidebar to open issue details, review the suggested fix, then click
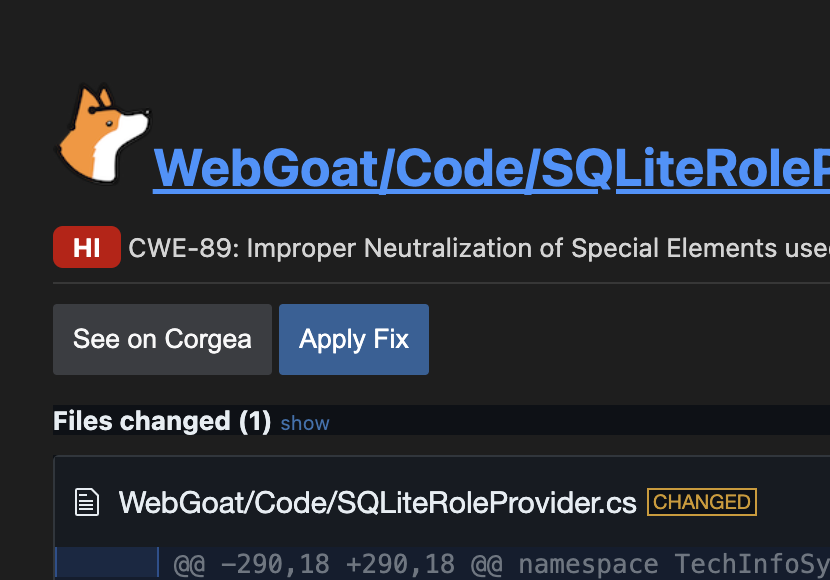
Apply Fixand save the updated files. In a JetBrains IDE, click a finding in the Corgea tool window to open its details, review the suggested fix, then clickApply Fixand save the updated files.
4
Optionally: Vote on the fix
If the fix is good or bad, please leave a vote, and ideally a comment. We review your feedback and use it to make Corgea better, so we greatly appreciate them.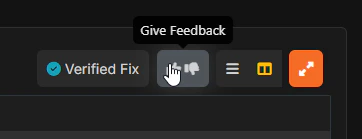
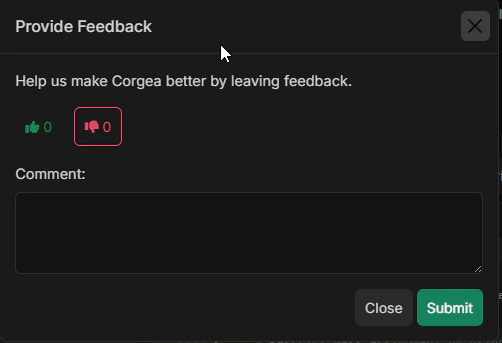
Give Feedback to open the feedback modal. In the modal, you can select a thumbs up or thumbs down, add an optional comment, and click Submit.Troubleshooting
No Fix Generated
No Fix Generated
For issues marked 
On Demand, open the issue details sidebar to generate the fix. If generation fails, or if a previously available fix needs to be regenerated, click Try Again.I don't like the fix generated
I don't like the fix generated
Please leave a vote using the thumbs up and down icons, and ideally a comment. We review your feedback and use it to make Corgea better, so we greatly appreciate them.