1
Create a Dedicated User for Corgea (Optional)
While not required, we recommend creating a dedicated Bitbucket user account for Corgea integration. This helps distinguish Corgea’s automated actions from your personal account activity and provides better auditability.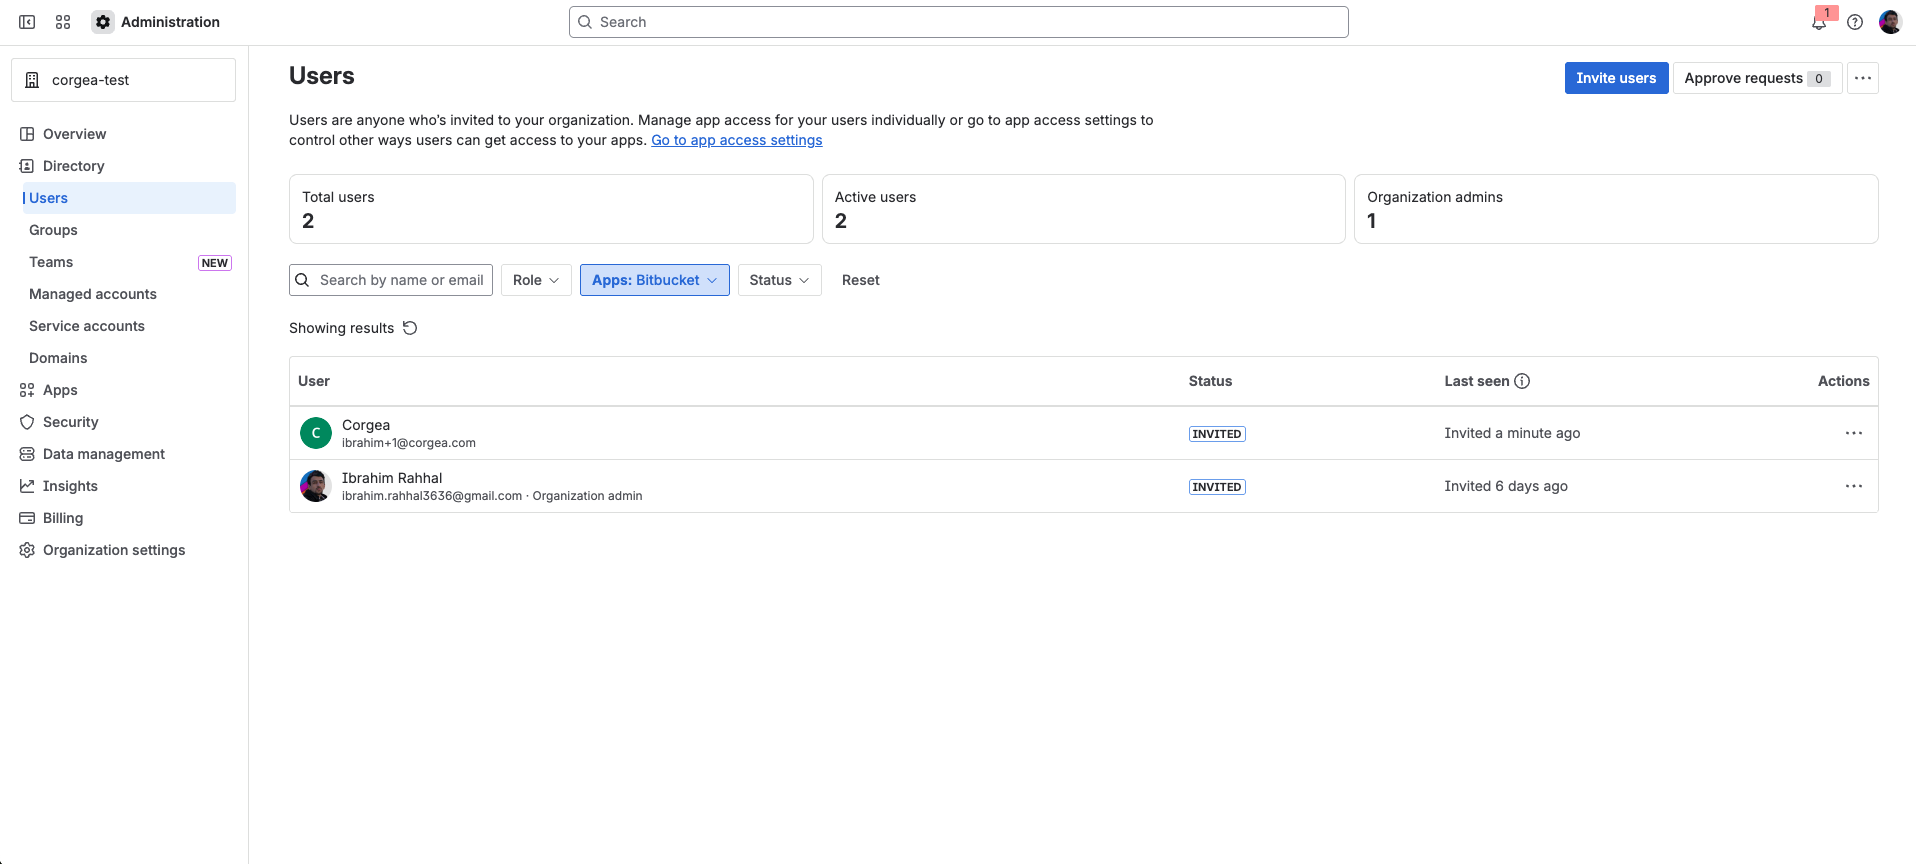
2
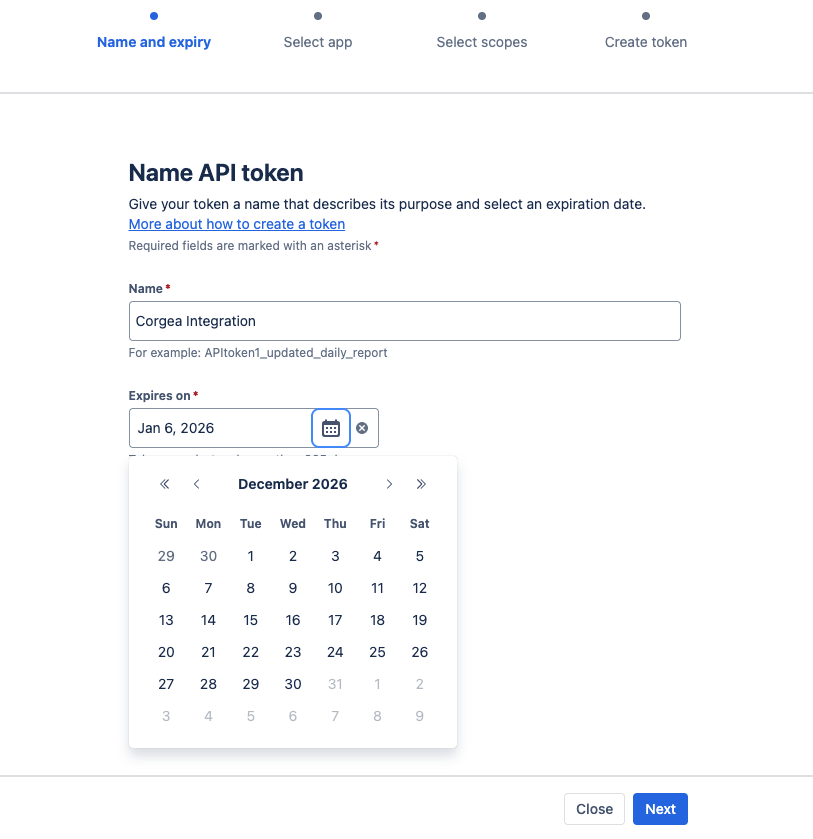
Generate an API Access Token
Navigate to the Atlassian API Tokens page and click “Create API token with scopes” to begin.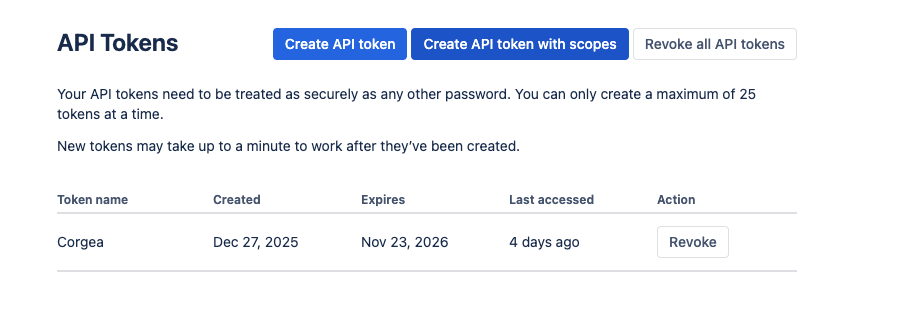
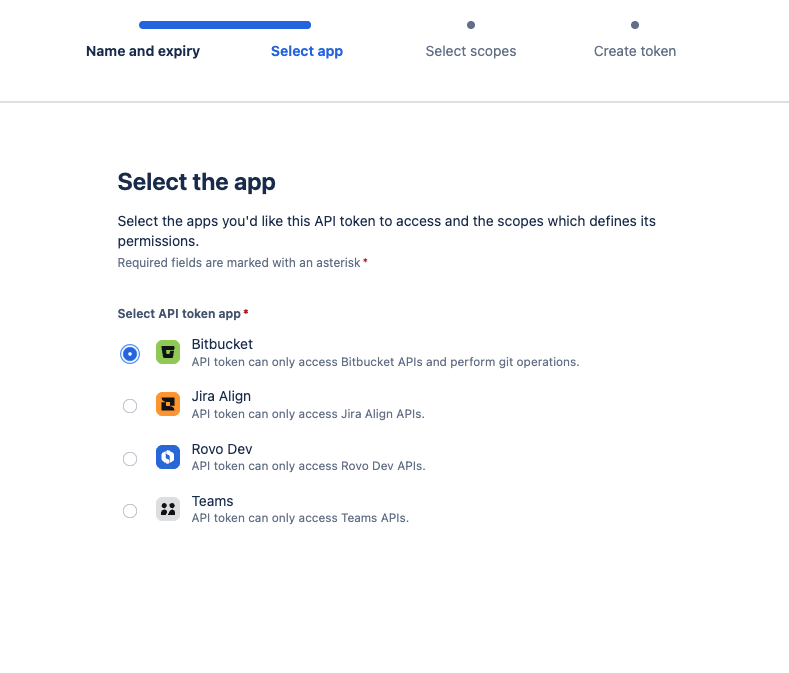
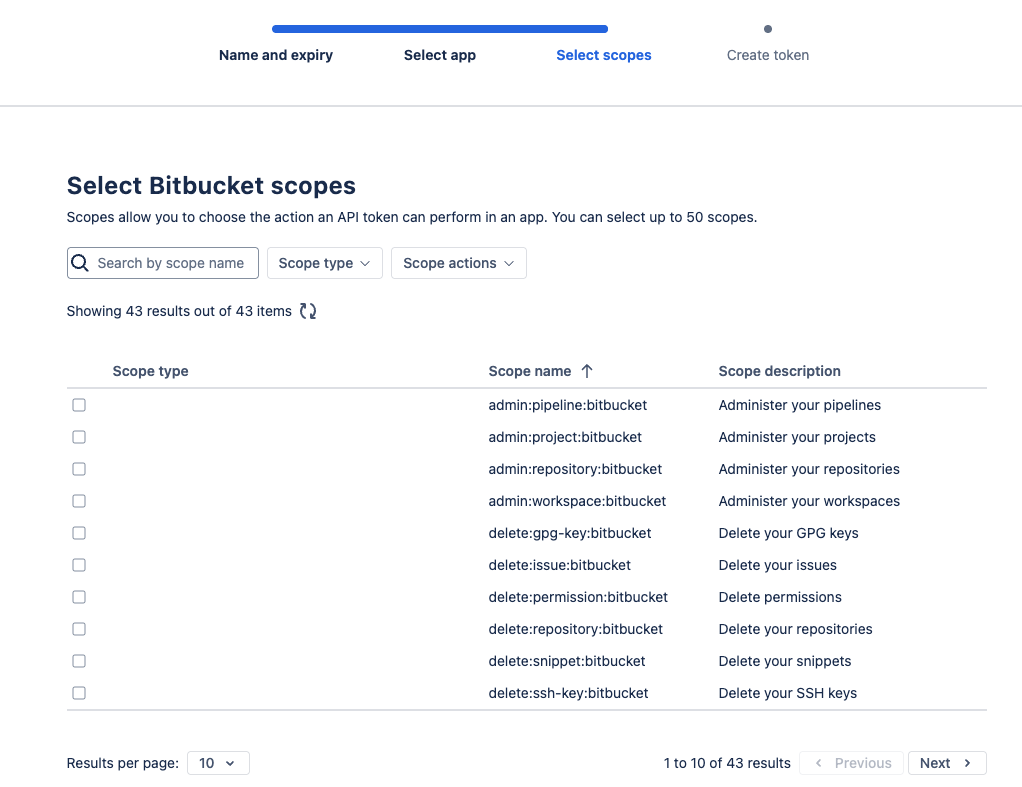
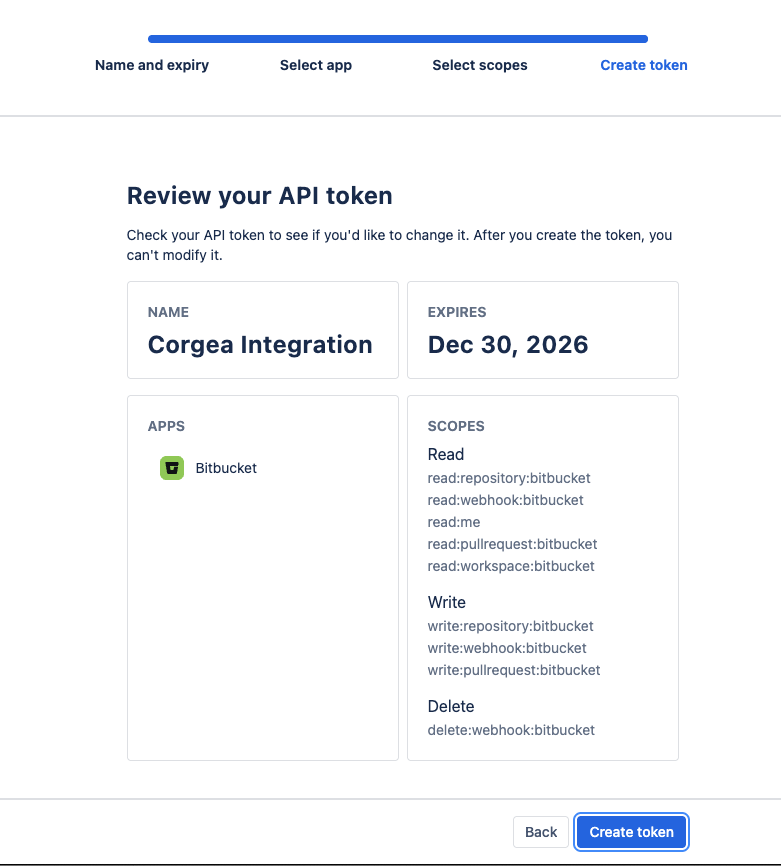

Repositories: “read:repository:bitbucket”, “write:repository:bitbucket”Pull requests: “read:pullrequest:bitbucket”, “write:pullrequest:bitbucket”Webhooks: “read:webhook:bitbucket”, “write:webhook:bitbucket”, “delete:webhook:bitbucket”General Info: “read:user:bitbucket”, “read:workspace:bitbucket”
3
Configure Bitbucket Integration in Corgea
Access your Corgea dashboard at 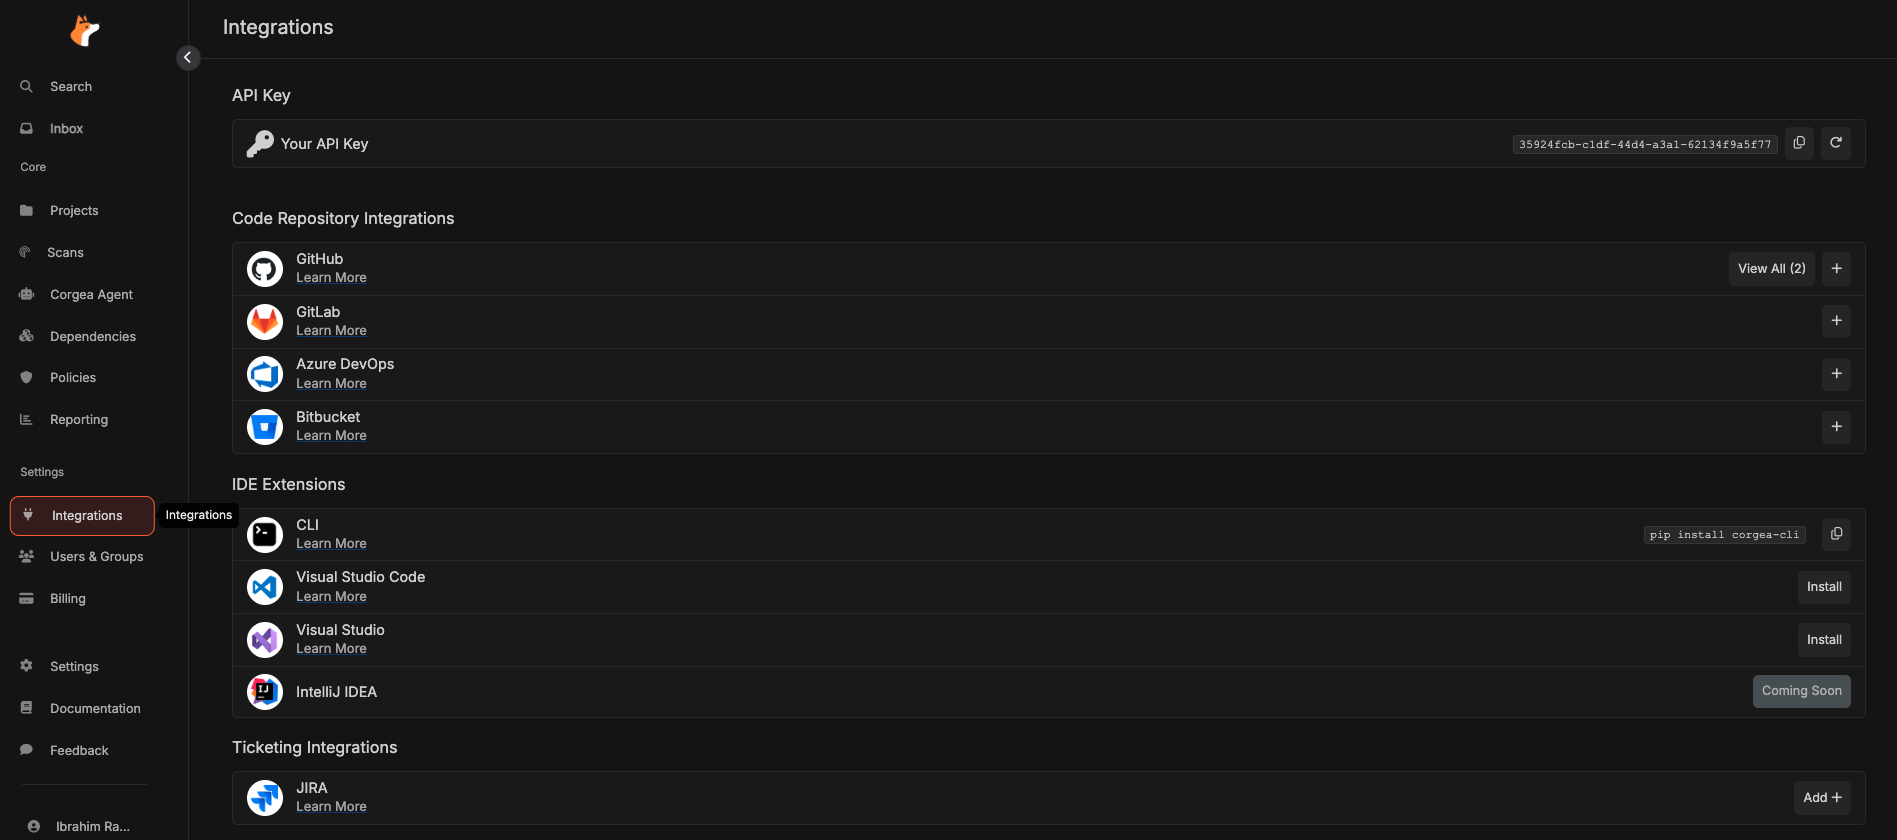
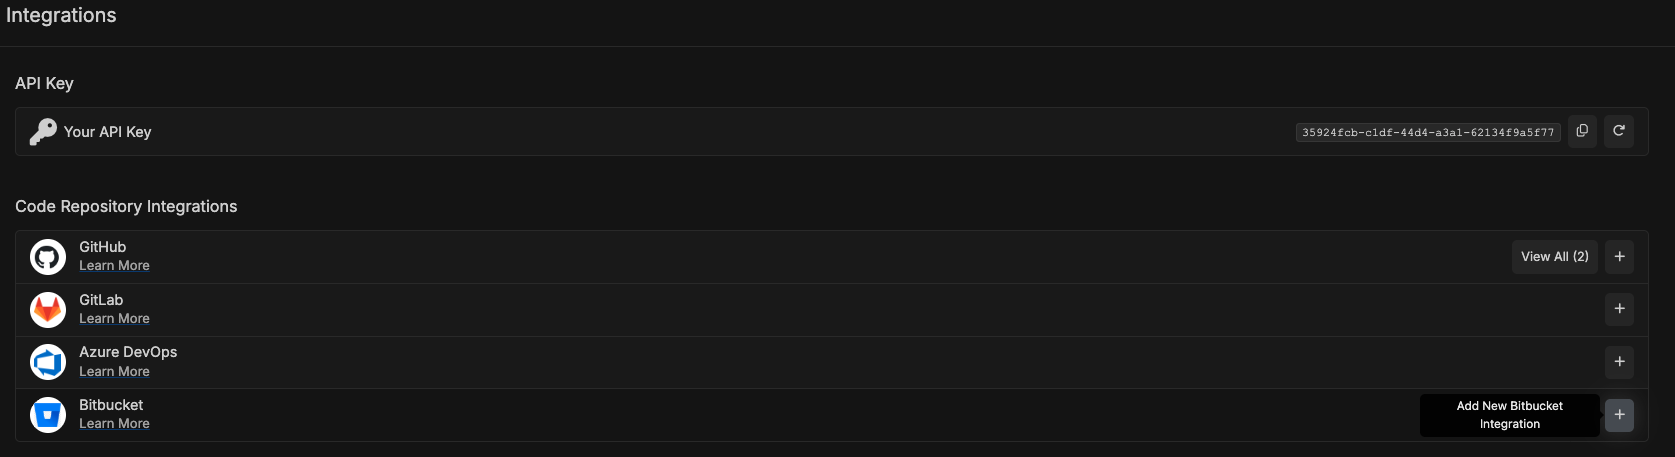
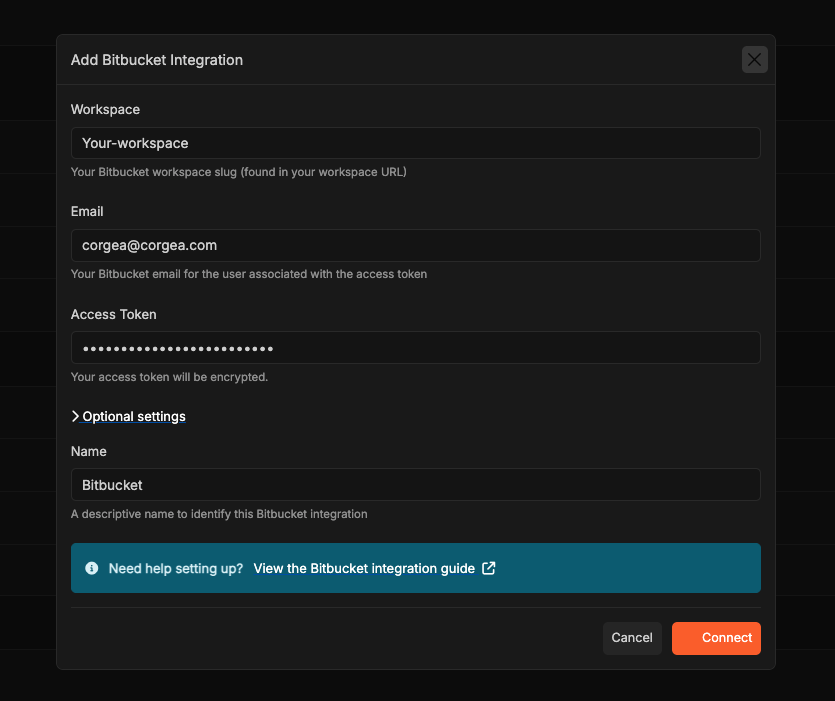
corgea.app or {your-instance}.corgea.app and navigate to the Integrations page using the sidebar or integrations link.- Workspace slug: Your Bitbucket workspace identifier
- Email address: The email associated with the Bitbucket account used to generate the API token
- Access token: The API token you copied in the previous step
- Integration name (optional): A custom name to identify this integration if you manage multiple Bitbucket workspaces